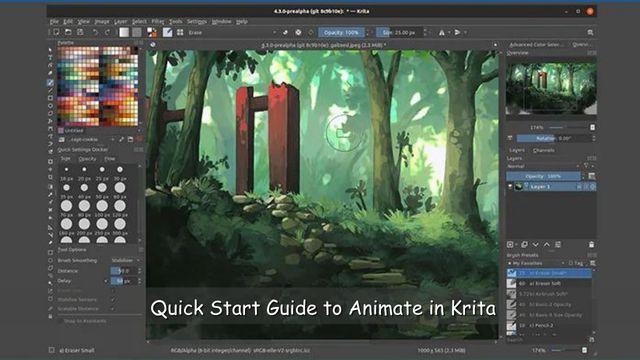
Quick Start Guide to Animate in Krita: In the art world, Krita is known for many things, like how great it is for digital drawing. Since it’s one of the best free digital painting tools, some people might forget about all the other things it can do. Today, we’re going to try it to see how well it works as free 2D drawing software.
This Krita animation lesson was made for people who are just starting out, even if they have never used Krita before. By the end of this guide, you will know exactly how to use Krita for animation.
Quick Start Guide to Animate in Krita!
Step 1: Create a new document
Go to File > New or press Ctrl + N to make a new document. Your document’s size, resolution, color space, and name will be shown in a text box. For animation, it’s best to use a size that fits the aspect ratio and resolution of the product you want, such as 1920 x 1080 pixels for HD video. You can also choose a setup, like Animation or Film, from the Predefined tab.
Step 2: Set up the animation workspace
Go to Window > Workspace > Animation or press Shift + F9 to set up the animation workspace. This will set up the windows and panels so that they can be animated. In the animation area, you will see the following things:
- Canvas: You draw and paint your frames on this. You can use the mouse and shortcut keys to zoom, pan, spin, and flip the surface.
- On the timeline, you can control your frames and levels. Here, you can add, remove, copy, move, and see a sample of your frames and layers. You can also change the frame rate, the range of playing, and the onion skin.
- Animation and Keyframe Docker: This is where you change the features of your layers’ animations and keyframes. You can make, edit, and remove keyframes and change your layers’ interpolation mode, sliding curve, and opacity.
- Tools and Brushes: These are the brushes and tools you use to draw and paint your frames. You can choose from different kinds of brushes, like pencil, ink, paint, and eraser. Tools like pick, shape, fill, and gradient can also be used.
Step 3: Draw your first frame!
Choose a layer from the timeline and a brush from the brushes box to draw your first frame. Then, use your mouse or tablet to draw on the board. You can choose the color of your brush by using the color picker, the color wheel, or the color palate. You can also use the sliders or keys on your computer to change the size, transparency, and flow of your brush.
Step 4: Add More Frames!
Click the + button at the bottom of the timeline or press Insert to add more frames. This will make a new frame on the same layer as the current frame. You can also make a new frame on a different layer by choosing the layer, clicking the + button or pressing Insert, and then clicking on the layer. Then, you can draw on the new frame with the same brushes or new ones.
Read More: Why Animators Love Pencil2d Software?
Step 5: Preview Your Animation!
Click the Play button at the bottom of the timeline or press the Spacebar to see a sample of your animation. This will play your animation in a loop based on how many frames per second and how far back to play. You can also move through your frames by hand with the Scrub bar. Using the Pause, Stop, and Play buttons or computer keys, you can pause, stop, and continue your animation.
Step 6: Export Your Animation!
Go to File > Render Animation or press Ctrl + Shift + R to export your animation. You can choose the format, location, name, and quality of your result in the text box that pops up. You can save your animation as a GIF file, a series of images, or a movie file. You can also set your output’s size, frame rate, and compression. When you’re done, click Render to start the process of rendering. You can see how the drawing is going and stop it if you need to.
Conclusion
It is fun and easy to make animations in Krita. With just a few steps and tools, you can make great videos. You can also try out all of Krita’s tools and choices to improve your animation skills and imagination. I hope this post has given you some tips on how to get started animating in Krita. Stay tuned with Crossover99 for more Animation Related Tips And Tracks.
Must Read: 8 Tips to Create a Unique Animation Portfolio!


